Category: Family Goals & Milestones

Money talks without the tension. Scripts and plans for couples, kids’ money skills, and major decisions.

  • Back-to-School Budget Planner

    Back-to-School Budget Planner

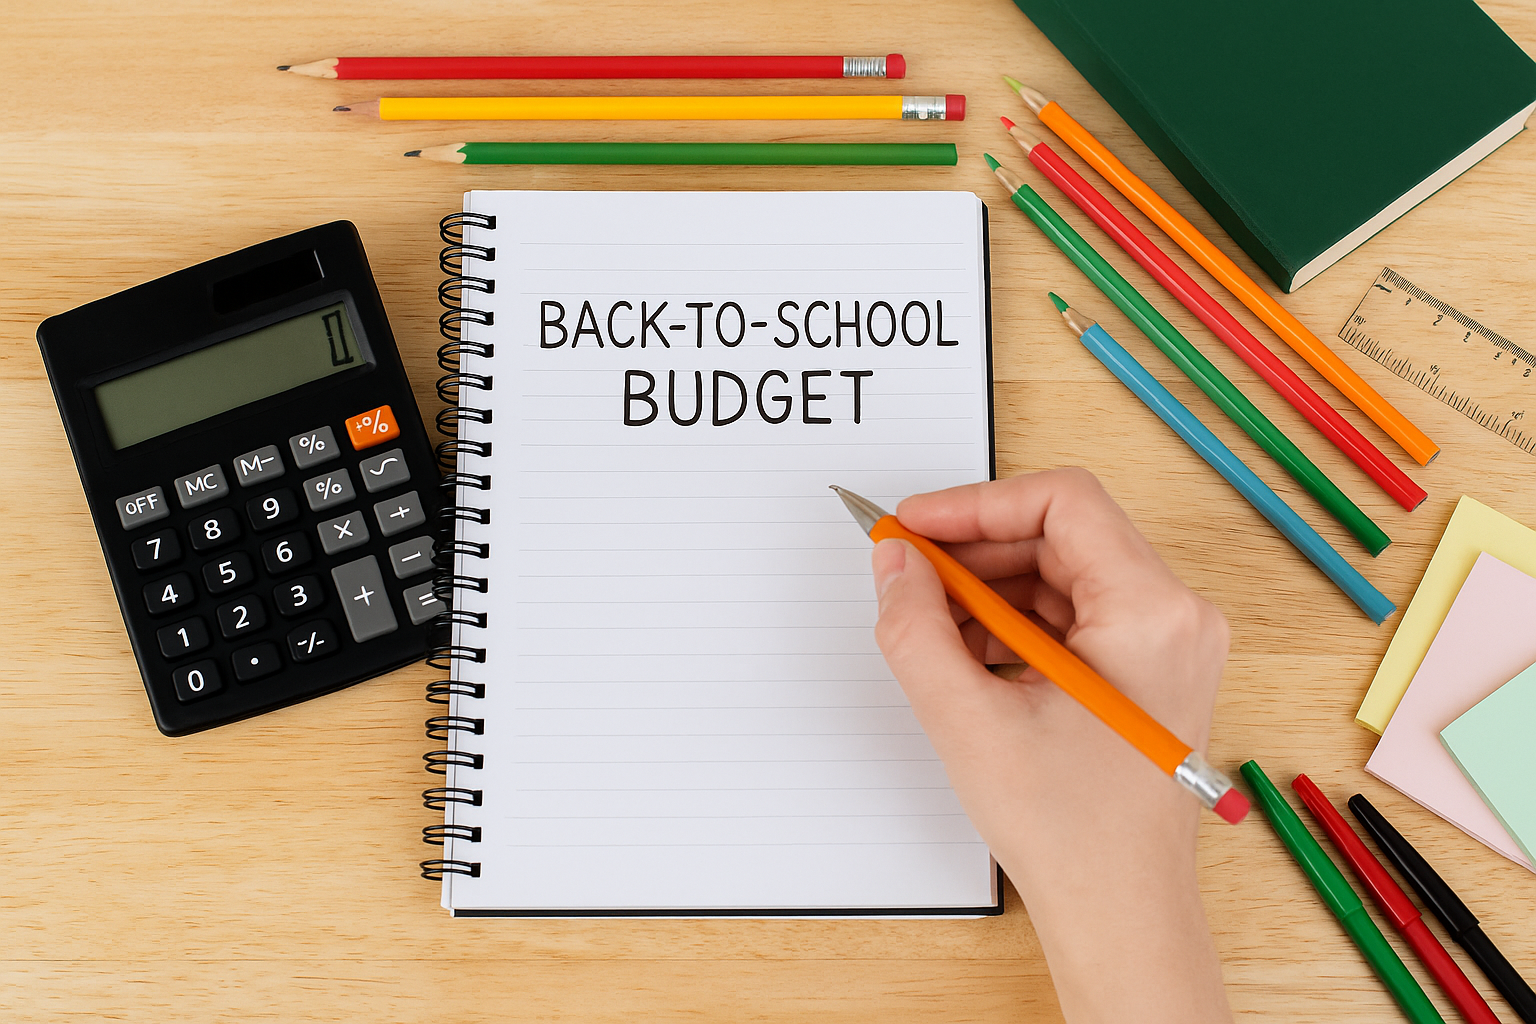
    New school year, fresh start—without the money stress. This simple planner helps you map real costs, spread purchases over a few paychecks, and keep your back to school budget focused on what matters for your family. Use the steps, checklist, and sample budget below to build a plan you can actually stick to.

    Step 1: Set Your Top-Line Number

    Decide how much you can spend this season without borrowing. Consider cash on hand, what you can save over the next 4–6 weeks, and any store credits or gift cards. Pick a total you feel calm about—then work backward to fit the essentials first.

    Step 2: Make Five Buckets

    • Supplies: notebooks, folders, binders, pens, art items
    • Clothing & shoes: basics first; specialty items later
    • Tech: headphones, calculators, device protection
    • Fees & activities: sports, clubs, instrument rentals, field trips
    • Health & extras: physicals, glasses, lunch accounts, transport

    Assign a cap to each bucket. If the total runs over, reduce “nice-to-haves,” delay tech upgrades, or plan to buy some items after school starts (teachers often share precise needs in week one).

    Step 3: Shop in Stages (to protect cash flow)

    • Stage 1 — Essentials: core supplies from the official list, uniform basics, required fees.
    • Stage 2 — Fill-ins: replacement clothing, backup supplies, device accessories.
    • Stage 3 — After week one: only the items teachers confirm are truly needed.

    Spread these stages across two to four weekends so you’re not draining one paycheck.

    Step 4: Stretch Every Dollar

    • Inventory your home first: last year’s extras, backpacks, calculators, unused notebooks.
    • Swap or buy secondhand: kids grow fast—thrift basics and buy shoes/new safety gear fresh.
    • Price match & bundles: compare multi-packs for pens, paper, and notebooks.
    • Pick one “splurge” on purpose: let each child choose a favorite item within a small limit.

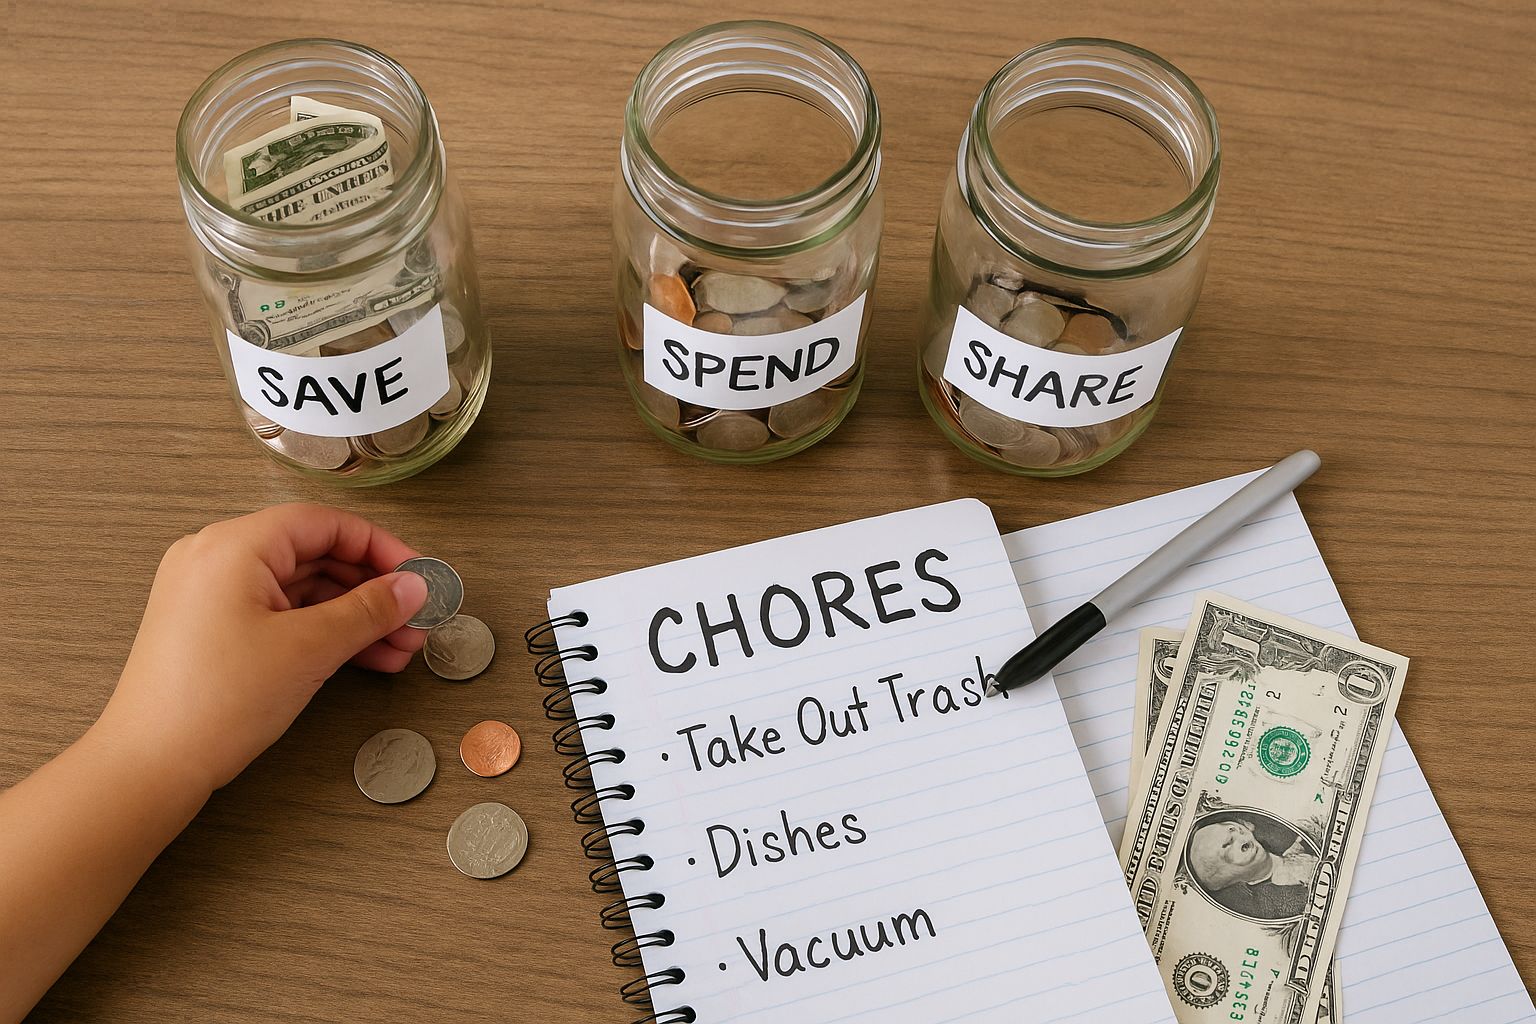
    Step 5: Create a Kid-Friendly Mini Budget

    Give each child a small “choice” envelope or prepaid amount (e.g., $15–$30) for fun items. This teaches trade-offs and reduces in-store negotiations. Your job is to fund the essentials; their job is to prioritize the extras.

    Back-to-School Budget Checklist

    • ☐ Download the official supply list and highlight non-negotiables
    • ☐ Audit what you already own (supplies, backpack, lunch box, calculator)
    • ☐ Set total budget and five bucket caps; add a 10% buffer
    • ☐ Plan two shopping trips (Essentials / Fill-ins)
    • ☐ Compare prices online; use pickup to avoid impulse buys
    • ☐ Label supplies and store extras in one bin for midyear top-ups
    • ☐ Track actual spend for next year’s plan

    Sample Budget (One Middle-Schooler)

    Category Cap Notes
    Supplies $65 Binders, paper, pens, highlighters
    Clothing & shoes $140 Basics + one pair sneakers
    Tech $45 Headphones + case; defer big tech
    Fees & activities $60 Clubs, field trip deposits
    Health & extras $35 Co-pays, lunch account top-up
    Buffer (10%) $35 Unexpected requests
    Total $375 Adjust to your household

    Two-Week Timeline (Quick Wins)

    • Week 1, Day 1: Set total + buckets; inventory at home; place pickup order for essentials.
    • Week 1, Day 4: Clothing fit-check; buy only gaps (socks, basics, one pair shoes).
    • Week 2, Day 2: Tech accessories and labels; set up a single bin for extras.
    • Week 2, Day 5: After teacher notes arrive, buy only confirmed needs.

    Common Pitfalls (and Easy Fixes)

    • Buying the whole list at once: Stage purchases and wait for teacher specifics.
    • Letting “cute” drive the cart: Use a kid envelope for wants; stick to caps elsewhere.
    • Forgetting fees and health costs: Reserve a small line for sign-up fees and co-pays.
    • No plan for midyear: Store extras in one labeled bin; note prices for quick refills.

    Bottom line: A good back to school budget is simple: set a calm total, fund the essentials first, and buy the rest in stages. Track what you actually spend this year and next year’s plan practically writes itself.

  • Moving Without Money Chaos: A Realistic Budget

    Moving Without Money Chaos: A Realistic Budget

    Moving is already a life upgrade—you don’t need a surprise credit card bill to go with it. With a clear moving budget checklist, labeled accounts, and a simple decision tree (DIY vs. full-service vs. hybrid), you can build a relocation plan that protects cash flow and your sanity. Use the steps below to create an honest, flexible budget that actually works in the real world.

    Step 1: Choose Your Move Type

    • DIY: You pack, you drive. Cheapest on paper, higher time/energy cost.
    • Full-service: Pros pack, load, transport, and unload. Highest price, lowest hassle.
    • Hybrid: Movers handle the heavy stuff; you pack fragile or easy items. Often the best value.

    Decision tip: If you value time, have stairs/heavy furniture, or are moving long-distance, price hybrid first. If the budget’s tight and the distance is short, compare DIY + a few paid hours of help for loading/unloading.

    Step 2: Map the Real Costs (Not Just the Truck)

    • Transportation: Truck rental or mover fees, fuel, tolls, parking permits, driver tip.
    • Packing supplies: Boxes, tape, bubble wrap, furniture blankets, mattress bags.
    • Labor/help: Movers by the hour or Tasker-style helpers (loading/unloading).
    • Housing overlap: Pro-rated rent, double utilities, deposits, application fees.
    • Utilities & services: Setup fees for electricity, gas, water, internet, trash.
    • Travel & lodging: For long-distance: hotels, meals on the road, pet boarding.
    • Cleaning & repairs: Move-out cleaning, paint, patching materials, carpet cleaning.
    • New place setup: Small furniture gaps (curtains, shelves), tool kit, entry rugs.
    • Contingency (10–15%): Because something always pops up.

    Step 3: Build Your Relocation Plan (Cash Flow Friendly)

    1. Open a “Move Fund” (HYSA or labeled sub-account): Keep costs separate from daily spending.
    2. Automate transfers: From now to move date. Weekly is best for consistency.
    3. Stage purchases: Week 1 supplies, Week 2 utilities/deposits, Week 3 labor, Week 4 truck/movers.
    4. Hold a buffer: Keep 10–15% unassigned until the last week.

    Moving Budget Checklist (Copy & Use)

    • ☐ Get 3 quotes: full-service, hybrid (load/unload only), DIY + helpers
    • ☐ Reserve truck/movers + building elevator/parking permits
    • ☐ Order supplies (estimate 10–15 boxes per room)
    • ☐ Schedule utility shutoff & start dates; confirm deposits/fees
    • ☐ Book cleaners or set a DIY cleaning kit
    • ☐ Plan travel days (lodging, meals, pet care)
    • ☐ Photograph old place condition (for deposit return)
    • ☐ Pack “Day 1” box (tools, sheets, toiletries, coffee, chargers)

    Sample Budget (Hybrid Move, 2-Bedroom, In-City)

    Category Amount Notes
    Movers (4 hrs @ $140/hr) $560 Load/unload only
    Truck rental + fuel/tolls $180 One-day, local
    Packing supplies $130 Boxes, tape, bubble wrap
    Permits & parking $60 City curb permit
    Cleaning/patching $120 DIY supplies or cleaner
    Utilities setup fees $160 Electric, gas, internet
    New place setup $140 Rods, hooks, entry mat
    Contingency (12%) $160 Hiccups buffer
    Total $1,510 Fund in “Move Fund”

    Timeline That Prevents Panic

    • 6–8 weeks out: Pick move type; open Move Fund; request quotes; set savings transfers.
    • 4 weeks out: Reserve movers/truck/permits; start decluttering (sell/donate to shrink volume).
    • 2 weeks out: Order supplies; pack low-use rooms; schedule utility start/stop.
    • 1 week out: Confirm elevator windows and parking; pack “Day 1” box; hold contingency cash.
    • Move day: Tip crew if applicable; track spending; photograph both places.
    • 1 week after: Return equipment, submit deposit claim, reconcile actual vs. budget.

    Cost Traps to Avoid (and Easy Fixes)

    • Underestimating boxes: Buy a bundle; return extras. Cheaper than last-minute runs.
    • Weekend-only moves: Midweek can be cheaper for trucks and permits.
    • Elevator/parking surprises: Reserve building elevator and curb space to avoid delay fees.
    • New-stuff impulse buys: List true gaps first (curtains, trash cans). Wait one pay cycle for décor.

    Quick Scripts (for quotes & fees)

    • Movers: “Can you price load/unload only and a 3-hour minimum? What fees change if the building has stairs or no elevator?”
    • Truck rental: “What’s the total out-the-door cost including mileage, insurance, toll pass, and fuel policy?”
    • Utilities: “Are there connection or equipment fees I should expect on my first bill?”
    • Landlord: “Can we schedule a pre-move walkthrough so I know exactly what’s required to receive the full deposit?”

    Bottom line: A calm move comes from clarity: name your costs, stage your spending, and keep a small buffer. With a realistic moving budget checklist and a little automation, you’ll step into your new place without money chaos.

  • Saving for a Car Without Stress

    Saving for a Car Without Stress

    Buying a car shouldn’t wreck your budget or your nerves. With a clear save for a car plan, a dedicated car sinking fund, and a few smart guardrails, you can fund your next set of wheels on your timeline—no last-minute scrambling, no payment regret.

    Step 1: Decide the Right Number (Total Cost, Not Just Sticker)

    Start with the all-in price you’re willing to pay. That means:

    • Vehicle price (new or used)
    • Taxes & fees (registration, title, documentation)
    • Insurance (get a quote for the specific model)
    • Maintenance & tires (set aside a small monthly amount)
    • Cushion (2–5% for surprises)

    Guideline: Keep your total monthly car costs (payment + insurance + fuel/maintenance) at or under 10–15% of take-home pay. If the math strains your cash flow, choose a less expensive model or extend your savings timeline before you shop.

    Step 2: Choose Your Path—Cash or Down Payment

    You don’t need to pay 100% cash to be disciplined. Pick one of these targets:

    • All-cash purchase: No monthly payment; you’ll need a larger savings goal.
    • Down payment saving (common): Aim for 15–20% down to lower the loan amount, reduce interest, and unlock better rates. Keep the loan term as short as you comfortably can (often 36–48 months).

    Step 3: Open a Car Sinking Fund (Separate, High-Yield)

    Nicknaming a high-yield savings account “Car Fund” prevents accidental spending and lets your savings earn interest. Automate transfers the day after payday so progress happens by default.

    Formula: (Goal – trade-in – cash on hand) ÷ months = monthly transfer

    Example: Goal $18,000 (reliable used car). Trade-in $2,000. Timeline 10 months.
    You’ll save $1,600 ÷ 10 = $160/month if financing the rest, or $18,000 ÷ 10 = $1,800/month for all-cash.

    Step 4: Add Easy Accelerators

    • Trim three expenses for the timeline only (e.g., pause a gym, rotate streaming apps, reduce dining-out). Redirect the difference to the fund.
    • Windfalls to wheels: Tax refunds, bonuses, marketplace sales go 100% to the Car Fund.
    • Round-ups & micro-saves: Small, automatic top-ups keep momentum between paydays.

    Step 5: Shop With Guardrails (Keep Costs Sane)

    • Define “must-haves vs. nice-to-haves” before test drives (safety features, cargo, AWD).
    • Price total cost of ownership: Fuel economy, insurance, maintenance history, tire size.
    • Get insurance quotes for two finalists—rates vary widely by model.
    • Certified pre-owned can be a sweet spot: warranty coverage without new-car pricing.
    • Always do a pre-purchase inspection on used cars; budget $100–$200 to avoid big surprises.

    Step 6: Timeline Checklist

    • 90 days out: Set your budget, open the Car Fund, automate transfers, get prequalification (soft pull if possible).
    • 30 days out: Narrow to 2–3 models; confirm insurance quotes and typical maintenance costs.
    • 7 days out: Schedule test drives; prepare a one-page offer sheet with your target OTD (out-the-door) price.
    • Purchase day: Stick to your OTD number; ignore add-ons you didn’t budget; use your Car Fund for cash or down payment.

    Common Mistakes (and Easy Fixes)

    • Focusing on monthly payment only: Sales can stretch terms to hit a low monthly number. Fix: Negotiate total OTD price first; choose the shortest comfortable term second.
    • Mixing savings with checking: Money “leaks.” Fix: Separate, named Car Fund.
    • Skipping insurance & taxes in the plan: Sticker shock later. Fix: Add them to your initial goal.
    • Raiding the fund: Temptation wins. Fix: No debit card on the savings account; transfers only.

    Mini Example Plan (All-Cash Used Car)

    Line Item Amount
    Target vehicle price $15,500
    Taxes & fees (7%) $1,085
    Insurance setup (first month) $140
    Cushion (2%) $330
    Total saved before purchase $17,055

    If saving in 9 months: $17,055 ÷ 9 ≈ $1,895/month (or about $948 biweekly). Adjust the timeline or the target model until the transfer fits your cash flow.

    Bottom Line

    Stress-free car buying is just math + habits. Set a realistic total, fund it with a separate car sinking fund, automate contributions, and shop with guardrails. Your future self—and your budget—will thank you.

  • Plan a Debt-Free Family Vacation (Step-by-Step)

    Plan a Debt-Free Family Vacation (Step-by-Step)

    Vacations are better when they don’t follow you home on a credit card bill. This step-by-step travel budget plan shows you how to design a trip you can actually afford, fund it with a simple vacation sinking fund, and enjoy the experience without money stress. Use the steps below to craft a clear plan for a truly budget family vacation.

    Step 1: Define the Trip You Really Want

    Before you price anything, write a one-sentence vision: “Five nights, driving distance, walkable town, two paid attractions, lots of free outdoor time.” Clarify non-negotiables (dates, destination type, must-see activity) and nice-to-haves (hotel pool, balcony, ocean view). This prevents impulse upgrades later.

    Step 2: Set a Total Budget You Can Fund on Time

    Pick a trip date and work backward. Estimate a top-line number that fits your cash flow (e.g., $2,400), then test it with a quick category breakdown. If the math strains your monthly cash, scale nights or distance now—before you fall in love with plans you can’t fund.

    Step 3: Build a Vacation Sinking Fund

    Open (or nickname) a high-yield savings sub-account “Vacation.” Calculate the automatic transfer:

    • Total budget ÷ months until departure = monthly transfer
    • Example: $2,400 ÷ 6 months = $400/month (about $100/week)

    Automate transfers the day after payday so saving happens by default. If your timeline is short, reduce the scope or push dates until the math works.

    Step 4: Price the Big Rocks First

    • Transportation: Drive vs. fly; factor fuel, parking, tolls, checked bags. If flying, compare one-stop vs. nonstop plus total travel time.
    • Lodging: Search options with kitchens or free breakfast; check cancellation windows and resort/cleaning fees. Midweek stays and off-peak dates often cut costs without cutting joy.

    Step 5: Create a Per-Day Spending Plan

    Give yourself a daily “allowance” for meals, treats, and local transit. Transfer that amount to a dedicated debit card or cash envelope each morning. When it’s gone, the day is done—no guilt, no guesswork.

    Step 6: Book in the Right Order

    1. Hold cancellation-friendly lodging in your price range.
    2. Lock in transportation (flights or confirm drive time and fuel estimate).
    3. Reserve one or two anchor activities you’ll remember (museum, tour, theme park). Leave buffer days for free or low-cost fun.

    Step 7: Sample Budget (Family of 4, 5 Nights, Drive Trip)

    Category Amount Notes
    Lodging $950 Suite with kitchenette; free breakfast
    Transportation (fuel & parking) $220 Round-trip driving + two parking days
    Food & groceries $480 Breakfast at hotel, simple lunches, 3 dinners out
    Attractions $360 Two paid activities + city pass
    Local transit/incidentals $140 Metro day passes, small extras
    SOUVENIRS + PHOTOS $100 Pre-set envelope to avoid creep
    Contingency (8%) $200 Minor surprises without debt
    Total $2,450 Fund via sinking fund before departure

    Step 8: Trim Costs Without Trimming Joy

    • Free-first itinerary: Parks, beaches, hikes, playgrounds, walking tours, public art.
    • Smart meals: Grocery breakfast; picnic lunches; one “splurge” dinner booked in advance.
    • Passes & memberships: Library museum passes, city cards, reciprocal zoo/science memberships.
    • Souvie rules: One item per kid or a family photo book funded from the souvenirs line.

    Step 9: Protect the Plan

    • Refundable vs. nonrefundable: If you pick nonrefundable fares, keep a slightly larger cash buffer.
    • Weather & illness: Know change policies; keep confirmations in a shared folder.
    • Safety buffer: Leave 8–10% of the budget untouched for hiccups.

    Step 10: Travel-Day Execution

    • Transfer the day’s spending money each morning.
    • Snapshot receipts or jot totals in your notes app.
    • When the daily budget is done, switch to free fun—sunset, pool, games, city lights.

    Step 11: Post-Trip Review (15 Minutes)

    Compare planned vs. actual. If you came in under budget, roll the surplus into the next vacation sinking fund. Update your per-day amount and “big rocks” for next time—your future self will thank you.

    Bottom line: A debt-free vacation isn’t about cutting everything; it’s about choosing intentionally, funding ahead, and letting the plan—rather than a credit card—do the heavy lifting.

  • Kids & Money: A Simple Allowance System That Works

    Kids & Money: A Simple Allowance System That Works

    Money confidence is a skill, not a personality trait—and a good kids allowance system is one of the easiest ways to teach it. The goal isn’t perfection; it’s repetition: regular practice earning, choosing, saving, and giving. Use the playbook below to set up a calm, sustainable system in under an hour.

    Why an Allowance Helps

    • Low-stakes practice: Kids learn to trade off “now vs. later” while the amounts are small.
    • Built-in “money lessons”: Saving for goals, spending within limits, and choosing causes to support.
    • Fewer store meltdowns: A budget they control turns “Can I have it?” into “Do I want to spend my money on this?”

    The 3-Bucket System (simple and visual)

    Give each child three clearly labeled jars (or digital “buckets”): Save, Spend, and Share.

    • Save (longer-term goals): A toy over $20, a bike, or camp. Add pictures of the goal for motivation.
    • Spend (week-to-week wants): Small treats, in-game purchases, crafts.
    • Share (generosity): Charity, school drives, gifts for others.

    Starter split: 50% Save, 40% Spend, 10% Share for younger kids; shift to 40/40/20 as goals get bigger.

    How Much & How Often?

    • Amount: Many families use $0.50–$1 per week per year of age (e.g., a 10-year-old gets $5–$10). Choose a number that fits your budget and reduces constant negotiating.
    • Frequency: Weekly works best for younger kids. Teens can handle biweekly “paydays.”
    • Format: Physical cash is powerful for younger kids; older kids may prefer a supervised debit card or youth banking app.

    Chores vs. Allowance (the calm approach)

    Big debate: should allowance be tied to chores? Try a hybrid that keeps life skills and money skills clear:

    • Base allowance is not payment for existing family responsibilities. Everyone participates in age-appropriate chores (making the bed, clearing the table) because they’re part of the household—not to “earn” basic living.
    • Offer optional paid “above-and-beyond” tasks. Yard work, washing the car, organizing the garage. Post a rotating list with prices so kids can earn extra by choice. This keeps motivation positive and avoids daily bargaining.

    This setup cleanly separates chores vs allowance while still teaching the link between effort and earnings.

    Set It Up in 5 Steps

    1. Pick your amount and day. Example: “Every Saturday you’ll get $6—$3 Save, $2 Spend, $1 Share.”
    2. Create the three buckets. Clear jars + printed labels or a youth account with sub-accounts.
    3. Define family jobs vs. paid extras. Put a simple list on the fridge with prices for optional tasks.
    4. Do a mini money date. Five minutes each week: distribute allowance, move money into buckets, and talk about goals.
    5. Let natural consequences teach. If “Spend” is empty, wait for next allowance or earn via an extra task. No bailing out with parental money.

    Age-by-Age Tips

    • Ages 5–8: Use cash and clear jars; keep goals small (stickers, small toy). Practice counting and simple change.
    • Ages 9–12: Add price comparison, “unit price” games at the store, and bigger Save goals (headphones, sports gear).
    • Teens: Shift to digital buckets and a monthly teen budget (lunches, outings, small clothing items). Introduce banking basics, interest, and “pay yourself first.”

    Coaching Scripts (short and pressure-free)

    • At the store: “You can buy it from your Spend bucket. Want to get it now, or save for the bigger thing?”
    • When a bucket is empty: “Looks like Spend is at zero. Would you like to choose an extra task to earn more, or wait until Saturday?”
    • On giving: “This month we have $3 in Share. Which cause or person do you want to support?”
    • On saving goals: “Your Save bucket has $18. The goal is $30. What’s your plan—wait two weeks or do a $6 extra task?”

    Common Pitfalls (and easy fixes)

    • Inconsistent “paydays”: Put a recurring reminder on your calendar; make it a quick weekly ritual.
    • Covering shortfalls: Avoid loaning from parents. Offer extra-earn opportunities instead.
    • Too many rules: Keep it simple. Three buckets + one list of extra tasks beats a complex spreadsheet.

    When to Update the System

    Revisit the amount annually (birthday or school year). As kids show responsibility, expand freedom: bigger Save goals, prepaid card access, or planning part of a family purchase (like a game pass or a day trip).

  • Couple Money Talks: 5 Scripts to Reduce Tension

    Couple Money Talks: 5 Scripts to Reduce Tension

    Couple Money Conversation Scripts

    Talking about money with someone you love doesn’t have to feel like an audit. With clear ground rules, a short agenda, and plug-and-play language, you can turn “the money talk” into a calm monthly habit that strengthens your relationship and protects your goals.

    Ground Rules (read these together first)

    • Schedule it—don’t ambush. Pick a neutral time and a comfy place. Put phones on do-not-disturb and set a 25-minute timer.
    • Be on the same team. It’s not “me vs. you,” it’s “us vs. the problem.”
    • Use “I” statements. “I feel anxious when bills are late” beats “You never pay on time.”
    • Facts first, feelings always. Look at numbers, then talk about how they feel.
    • Call a timeout if needed. If emotions spike, pause and reschedule within 48 hours.

    The 25-Minute Money Date Agenda

    1. 5 minutes: Wins & worries. One quick win and one concern each.
    2. 10 minutes: Facts. Bills due, balances, paydays, upcoming irregular costs.
    3. 8 minutes: Decisions. Limits for variable spending, savings/debt moves, any changes to contributions.
    4. 2 minutes: Next steps. Who does what by when; schedule the next money date.

    Plug-and-Play Scripts for Common Moments

    1) The gentle opener

    You: “Could we set a 25-minute money date this weekend? I want us to look at what’s coming up and choose a plan we both feel good about.”

    2) Sharing your numbers (without shame)

    You: “I want us to have the full picture so we can plan honestly. Here’s what I’m carrying: $____ on my card at __%. I’m not asking you to fix it—just to help me build a plan that works for both of us.”

    3) Different incomes (equity over 50/50)

    You: “Since our incomes aren’t the same, could we try proportional contributions for shared bills (e.g., 60/40) and each keep personal spending money? I want it to feel fair, not identical.”

    4) When spending crept up

    You: “I noticed we spent $___ more on takeout this month. I’m not blaming—can we set a weekly limit we both choose and move that amount to a ‘spend’ account every Friday?”

    5) Big purchase check-in

    You: “Before we buy the _____, can we talk through total cost, timing, and what we’ll trade off? I want to be excited and aligned, not stressed later.”

    6) After a slip-up (repair & reset)

    You: “I overspent the travel budget by $____. I’m sorry. I’ll pause non-essentials this week and move $____ from my personal money to cover it. Can we do a quick reset on Friday?”

    Money Date Questions (steal this list)

    • What felt good about money this month? What felt tight?
    • Which 3 categories most reflect our values right now?
    • Any upcoming non-monthly costs (gifts, car service, trips)?
    • How will we handle shared bills—equal split, proportional, or hybrid?
    • What’s our next joint goal (starter emergency fund, debt focus, or saving for an experience)?

    Simple Account Structure for Fewer Fights

    • Joint “Bills” Checking: Autopay rent/mortgage, utilities, insurance, debt minimums.
    • Two Personal “Spend” Accounts: Weekly transfers for day-to-day purchases—no permission needed.
    • Shared High-Yield Savings: Buckets for Emergency, Travel, Car, Gifts; small automatic transfers each payday.

    Mini Checklist (so talks turn into action)

    • Rename accounts (Bills / Spend / Emergency) so the purpose is obvious.
    • Turn on alerts: low balance, large transaction, upcoming bills.
    • Automate the boring stuff: transfers the day after payday; autopay for must-pays.
    • Document decisions in a shared note: limits, goals, due dates, who does what.

    If We Disagree, Try This

    You: “It sounds like we both want security, but we’re choosing different paths. Can we try your approach for four weeks, review results, then try mine for four weeks? We’ll keep whichever works better.”